Exterior care
What exterior detailing actually removes
A wash removes what is loose. Everything else on your paint is bonded to it. Here is what each contaminant actually is, what it does if left, and the step that removes it.

Yellowed headlights are a safety problem before they are a cosmetic one.
Headlights are the one piece of cosmetic work with a safety argument attached. A hazed lens does not simply look tired — it scatters the beam, which drops the light reaching the road ahead of you and throws the rest into the eyes of oncoming traffic. The car feels fine to drive until the first genuinely dark road.
Modern headlight lenses are polycarbonate — light, impact resistant, and badly affected by ultraviolet light on its own. Manufacturers deal with that by spraying a hard UV-resistant coating onto the outside of the lens at the factory.
That coating is what fails. Sun, heat and years of road grit wear through it, usually starting at the top edge of the lens where the sun sits longest. Once it is breached, the polycarbonate underneath oxidizes directly, and oxidized polycarbonate is yellow and cloudy.
It is not a cleaning process. Restoration removes the failed coating and the oxidized layer of plastic beneath it, then rebuilds the optical clarity of the surface it exposed.
Entirely a function of what went back on, and this is where the honest ranges are wide.
Where the vehicle lives matters as much as the product. A lens that sits under a covered space or faces away from the afternoon sun keeps its coating far longer than one baking in an open lot every day.
Three cases, and a good detailer will name them rather than take the booking.
There is also a plain economic case. On some vehicles a pair of aftermarket lenses costs little more than a proper restoration, and new units come with a factory coating and no history. On others — anything with adaptive or matrix lighting behind the lens — replacement is dramatically more expensive and restoration is obviously the right call. It is worth knowing which of those two you own before deciding.
Over-the-counter restoration kits work. The sanding and polishing steps in them are genuinely the same steps a professional uses, and a careful owner with an afternoon gets a real improvement.
Two things go wrong. The first is stopping at the polish because the lens already looks clear — which is the uncoated case above, and it comes back. The second is sanding by hand without keeping the surface wet and the grades in order, which leaves a lens that is clear from straight on and hazy from any other angle.
Toothpaste and bug spray, which the internet recommends endlessly, do neither step. They mildly abrade or briefly dissolve the surface of the plastic, which looks like progress for about a week and leaves the lens softer than it was.
Headlight restoration is contained, separate work with its own block of time, so it is quoted on its own rather than absorbed into the price of a detail. It is commonly added to an exterior or complete service, since the front of the vehicle is already clean and masked at that point in the job.
What a detailer needs to see first is whether the haze is on the outside, inside, or within the plastic — which takes about ten seconds in daylight and decides whether the work is worth doing at all.
Keep reading
Chosen by what they have in common with this one, rather than by what was published most recently.
A wash removes what is loose. Everything else on your paint is bonded to it. Here is what each contaminant actually is, what it does if left, and the step that removes it.
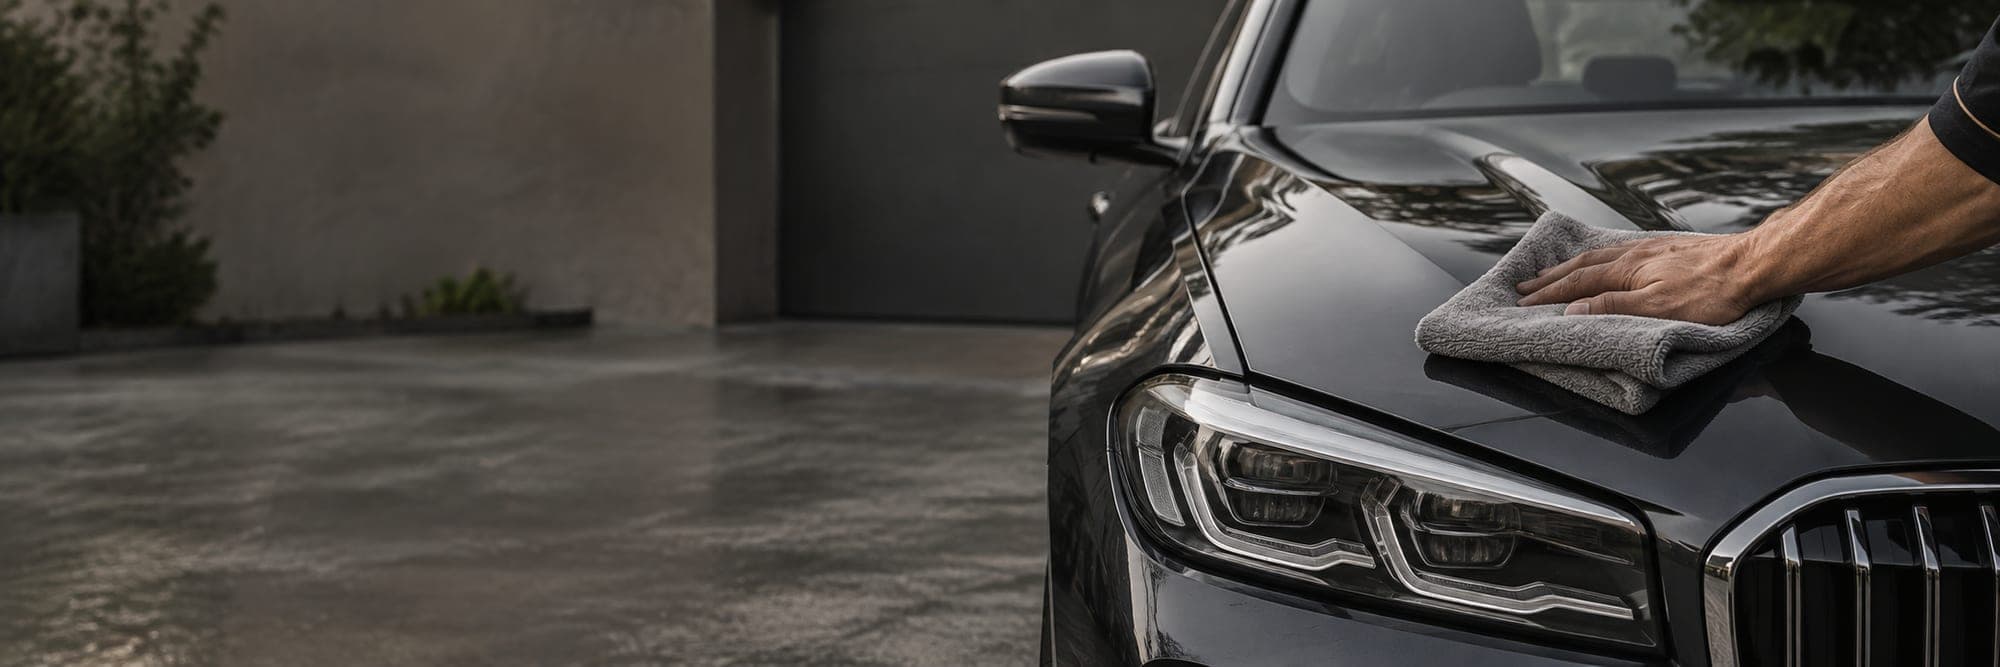
One is a polish that makes a finish look its best. The other removes clear coat to level out defects in it. Knowing which you are buying is the difference between value and disappointment.
Not all water spots are the same, and treating the wrong kind is how a cosmetic mark becomes a permanent one. Here is how to identify yours before you touch it.
Book in two minutes
Enter your ZIP code, tell us what you drive, and we will show you the arrival windows we have open.
No depositTwo-hour arrival windowsWe come to you